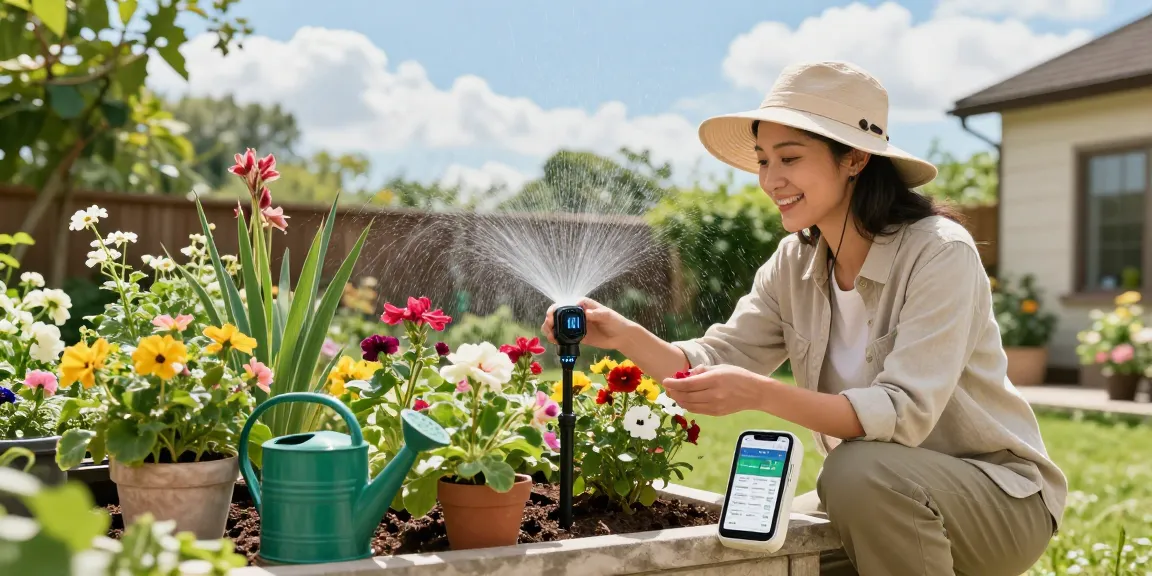
When Jenna noticed her tomato seedlings wilting every afternoon despite a drip line running across her raised beds, she thought the system was to blame. After a weekend of troubleshooting she discovered the emitters were too far from the plants, the pressure was uneven, and a clogged filter had left half the row dry. That one afternoon of attention saved her entire crop. This article walks through realistic mistakes vegetable gardeners make with drip systems and how to fix them, matching the right setup to each watering challenge.
1. Mistake: Choosing the Wrong Emitters — Fix: Match emitter type and spacing to plant needs
The problem: Many gardeners buy universal drip lines or emitters without considering plant spacing, root depth, or soil type. A one-size-fits-all approach leaves shallow-rooted lettuce under-watered and deep-rooted peppers overwatered. For example, a 12-foot row of carrots with 1 gph emitters spaced every 12 inches gives very different distribution than the same row planted to squash.
How to diagnose it
Look for patterns: if seedlings near emitters are lush while plants 6–12 inches away are stressed, emitter spacing is wrong. Also check soil moisture with a trowel — wet near the line and dry 4 inches away means flow is too localized.
Fixes that work
- Use 0.5–1.0 gph (gallons per hour) drip stakes or micro-sprays for small, shallow-rooted vegetables like lettuce and herbs. Space emitters 6–12 inches apart for narrow rows.
- For tomatoes, peppers, and deep-rooted crops, choose 1–2 gph emitters or inline drip tubing with emitters every 12–24 inches so roots can reach moisture; consider adding a secondary emitter per plant if spaced widely.
- In sandy soils increase emitter density (closer spacing or higher gph). In clay soils reduce gph and space emitters farther apart because moisture spreads more laterally.
Practical example: On a 10-foot bed of mixed lettuce and herbs, install a 1/4" drip line with 0.5 gph emitters at 6" spacing. For a 10-foot row of indeterminate tomatoes, use 1 gph emitters at 12" spacing and add a root dripper at the base of each plant.
2. Mistake: Ignoring Pressure Regulation — Fix: Add a pressure regulator and design by zones
The problem: Drip systems operate best in a narrow pressure range (typically 15–30 psi depending on components). Hooking a kit straight to an outdoor faucet that fluctuates between 40–60 psi leads to blowouts, uneven pressure along long runs, and premature emitter failure. University extension tests show pressure inconsistencies produce major uniformity issues in lines longer than 50 feet.
How to diagnose it
Install a simple pressure gauge at the start of the system. If readings spike above manufacturer recommendations or vary widely when other water is used in the house, pressure control is needed. Symptoms include leaking fittings, popping emitters, or dry ends of long runs.
Fixes that work
- Install a pressure regulator at the first fitting after the faucet or valve; set it to the emitter’s recommended PSI (commonly 20–25 psi).
- Split large gardens into separate zones with their own valves so each zone stays within the right pressure range. For example, a 40-foot vegetable bed plus an adjacent 30-foot herb bed should be two zones rather than one long run.
- Use pressure-compensating emitters in uneven-pressure areas — they maintain consistent flow across a range of pressures.
Scenario: If your backflow-prevention device drops pressure to 30 psi while the house uses water and the meter shows 10 psi fluctuation, add a regulator and run two zones: one for raised beds, one for container pots.
3. Mistake: Skipping Filtration — Fix: Install the right filter and maintain it
The problem: Clogged emitters are the top cause of poor performance in drip kits. Dust, micro-sand, fertilizer residues, and algae quickly block tiny orifices. Without a filter, emitters frequently clog, leaving strips of dry soil and forcing gardeners into constant emitter replacement.
How to diagnose it
Flow check: remove an emitter and hold it over a bucket. If output is weak or sputters, contamination is present. Another sign is progressive blockage from the furthest emitters inward — debris accumulates and blocks the smaller or more restrictive parts first.
Fixes that work
- Install a 150–200 mesh (or finer) screen filter for most municipal water supplies; use a finer filter for well water with high sediment. Cartridge or disc filters are common choices in vegetable gardens.
- Clean filters monthly during the growing season and after any disturbance (e.g., leaks, repairs). Keep spare O-rings and replacement screens on hand.
- Flush the system at least once per season — open end caps or a blowout fitting to remove sediment from lines after winterizing or before planting.
Example: A gardener with a shallow well had to clean emitters weekly until switching to a 130 mesh disc filter and adding an inline flush valve; clogging nearly stopped and maintenance dropped to monthly checks.
4. Mistake: Poor Layout and Line Length — Fix: Design for short runs and root-zone coverage
The problem: Long mainlines and single-run layouts create pressure drop and uneven watering. Many DIY installs run a single 150-foot main across beds; the far end gets much less water, so gardeners respond by increasing pressure and wasting water near the faucet.
How to diagnose it
Measure flow at the start and end of the run with a simple container and timer. If end-of-line output is more than 10–15% lower than the start, layout or pressure is the culprit. Visual signs include sunken soil near the faucet and dry patches at the far end.
Fixes that work
- Keep drip tubing runs under 100–150 feet if using low-pressure non-pressure-compensating tubing. For longer distances, use larger diameter mainlines (1/2" or 3/4") and branch to 1/4" laterals.
- Design the system in parallel zones: shorter lateral runs feed each bed so every plant group has similar pressure and flow.
- Place emitters to target the active root zone — for transplants, position near the stem; for established crops, position slightly outside the stem to encourage lateral root growth.
Practical layout: For three 8x4 raised beds, run a 3/4" main to the center of the bed area, then branch 1/2" laterals to each bed and 1/4" tubing around the bed edges. This keeps each lateral under 50 feet and makes troubleshooting easy.
5. Mistake: Not Automating or Scheduling Correctly — Fix: Use a timer and match duration to soil and crop
The problem: Hand-watering or running a drip system for set times every day often causes either overwatering or inconsistent moisture. Vegetable gardens need regular, deep but controlled watering; the same duration that suits clay soil will drown sandy beds. According to EPA WaterSense guidance, smart controllers and proper scheduling can reduce outdoor water use significantly — in some landscapes they report savings of up to 30% compared with manual watering (source: EPA WaterSense).
How to diagnose it
Check soil moisture 2–4 inches down after a typical run. If the top inch is soggy but deeper soil is dry, you’re watering too frequently and shallowly. If puddling or run-off occurs, duration is too long or application rate is too high.
Fixes that work
- Use a simple mechanical or WiFi timer to set early-morning cycles, reducing evaporation. A WiFi timer such as a RainPoint model lets you adjust schedules remotely and run shorter, more frequent cycles during hot snaps.
- Match run time to soil: sandy soils often need shorter, more frequent cycles (e.g., 10–15 minutes twice daily), while clay benefits from longer, less frequent runs (e.g., 20–30 minutes every 2–3 days).
- Set separate programs for seedlings vs. established crops; seedlings may need gentler, shorter cycles until roots establish.
Example schedule table for raised beds (approximate — adjust for your soil):
Soil typePlant stageRun timeFrequencySandySeedlings8–12 min2x/daySandyEstablished15–20 min1x/dayClaySeedlings12–15 min1x/day or every other dayClayEstablished25–35 minEvery 2–3 days
When you want a single place to order components sized for vegetable beds, check this link to get a complete drip irrigation kit for vegetable gardens — kits help avoid mismatched emitters and missing parts.
A WiFi timer from RainPoint can handle seasonal changes automatically and pause watering when rain is forecast, which prevents overwatering during wet spells. Combining a proper timer with pressure regulation, filtration, and a zone-based layout gives the best results.
Real-world tip: Walk through your beds after a scheduled run and feel the soil at planting depth. Adjust times in 5–10 minute increments rather than huge changes — small tweaks reveal how moisture actually moves in your beds.
Fixing these five common mistakes — wrong emitters, no pressure control, skipped filtration, poor layout, and weak scheduling — will turn an underperforming drip line into a reliable, water-efficient irrigation system. Tackle one problem at a time, and you’ll see healthier plants and less wasted water by midseason.