Understanding the Basics of cách tháo lớp ép dẻo
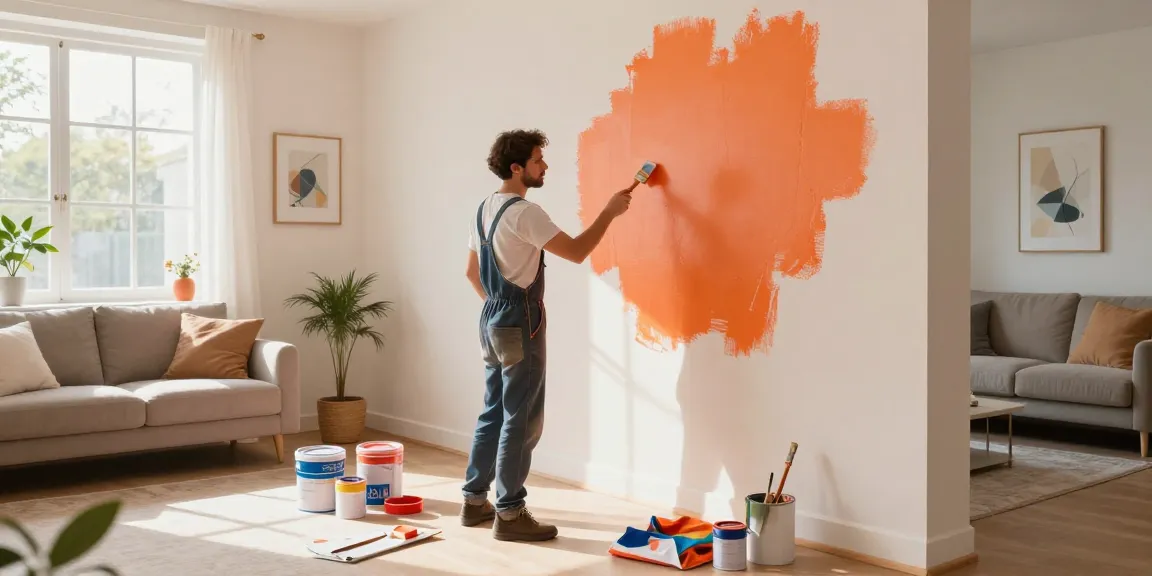
The process of cách tháo lớp ép dẻo, or removing the protective layer of materials, is an essential skill in many DIY and home improvement projects. Whether you’re working with electronics, furniture, or home appliances, understanding how to safely and effectively remove these layers can enhance both the aesthetic and functional quality of your projects. When exploring options, cách tháo lớp ép dẻo provides comprehensive insights that can help you achieve a professional finish.
What is cách tháo lớp ép dẻo?
Cách tháo lớp ép dẻo refers to the method of carefully removing protective films, plastics, or layers from surfaces. This process is common in various industries, including electronics, automotive, manufacturing, and DIY home projects. The protective layers serve to shield surfaces from scratches, dust, and other environmental factors during production or shipping.
Benefits of Proper Layer Removal
- Improved Aesthetics: Removing protective layers can significantly enhance the appearance of a surface, revealing its true colors and designs.
- Enhanced Performance: In some cases, protective layers can affect the functionality of an item. For example, they may hinder the proper operation of buttons or screens on electronic devices.
- Long-term Durability: Proper removal techniques ensure that the underlying surface remains intact, preventing damage that could occur from improper practices.
Common Tools Needed for the Process
To effectively perform cách tháo lớp ép dẻo, you will need a selection of tools that cater to the type of material you are dealing with. Here’s a list of some common tools:
- Plastic Scraper: Ideal for delicate surfaces to avoid scratches.
- Heat Gun: Useful for loosening adhesive bonds, especially on stubborn layers.
- X-ACTO Knife: Perfect for precision cutting near edges.
- Adhesive Remover: Chemical solutions can help dissolve adhesives left behind after removal.
Step-by-Step Guide to Effective Layer Removal
Preparing Your Workspace for Safety
Before commencing the removal process, it is crucial to prepare your workspace properly. Start by ensuring that the area is well-lit and free from clutter. Use drop cloths to protect surfaces and create a designated area for tools. Safety gear, including gloves and glasses, should be worn, especially when using chemicals or heat. A clean and organized workspace not only enhances your efficiency but also helps in minimizing accidents.
Techniques for Removing the Protective Layer
There are several effective techniques for removing protective layers, depending on the type of material and adhesive involved:
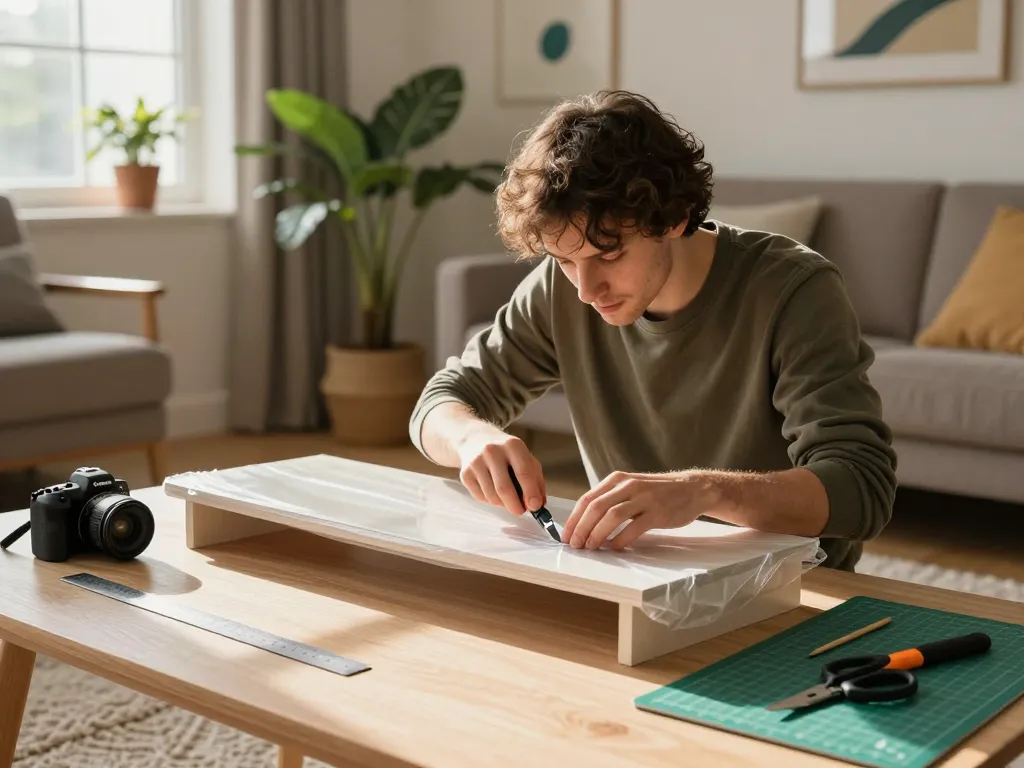
- Peeling: Gently lift one corner of the protective film and slowly peel it away at a 45-degree angle to reduce stress on the surface below.
- Heat Application: Use a heat gun to warm the protective layer slightly to soften the adhesive, making it easier to peel off.
- Scraping: For tougher layers, use a plastic scraper at a shallow angle to avoid gouging the surface.
Post-Removal: Cleaning and Maintenance Tips
After removing the protective layer, it’s important to clean the surface thoroughly. Use a mild detergent and a soft cloth to remove any adhesive residue. For electronics, ensure that you do not use excess moisture. Additionally, consider applying a protective coating to maintain the surface’s luster and to prevent future damage.
Common Mistakes to Avoid During Removal
Incorrect Tools and Their Consequences
Using the wrong tools can lead to damaging the surface you are trying to protect. For example, metal scrapers can leave scratches or marks on delicate finishes. Always evaluate the material and select the proper tools to minimize the risk of damage.
Poor Workspace Setup and Safety Hazards
A disorganized workspace can lead to accidents. Ensure that all tools are within reach and that you have ample space to maneuver safely. Avoid working in tight or crowded areas to prevent injuries.
Understanding Material Types and Adhesives
Each material reacts differently to protective layers and adhesives. Before you begin, research the specific materials you are working with to understand the best removal techniques and tools.
Advanced Techniques for Professionals
Using Specialty Tools for Unique Surfaces
For specialists in the field, having access to specialty tools such as ultrasonic cleaners or solvents can provide a more effective way of handling delicate or intricate surfaces. These tools can be invaluable for preserving the integrity of high-end materials.
Time-Saving Methods for Larger Projects
When dealing with larger projects, consider employing techniques such as batch removal where multiple items are processed simultaneously. This can save significant time and ensure consistency across items.
Expert Tips for a Flawless Finish
Always work methodically. Planning the removal process stage by stage can lead to better results. Finally, ensure that the surface is allowed to breathe post-removal to prevent trapping moisture beneath coatings or finishes.
The Future of Home Improvement Techniques
Emerging Tools and Technologies for 2026
As we move further into 2026, advancements in home improvement tools are rapidly evolving. Smart tools that include sensors for detecting materials and optimal removal methods are becoming more common. Expect to see increased automation in the DIY space, optimizing tasks like layer removal.
Trends in DIY Home Projects
DIY enthusiasts are leaning towards sustainability, using eco-friendly materials that are easier to remove without damaging the environment. This trend is expected to grow as more people become conscious of their environmental impact.
Building a Community for Home Improvement Enthusiasts
Connecting with fellow DIYers through online platforms allows for sharing tips and techniques. Engaging in forums can provide valuable insights into best practices and help individuals stay updated with the latest trends in home improvement.
What are the best tools for cách tháo lớp ép dẻo?
The best tools for removing protective layers include plastic scrapers, heat guns, and adhesive removers. Choosing the right tool for the specific material is essential for achieving the best results without damaging the surface.
How can I ensure my workspace is safe?
To ensure a safe workspace, organize tools, wear safety gear, and keep the area well-lit and clutter-free. Avoid unnecessary distractions while working and understand the tools you are using.
What are common mistakes when removing protective layers?
Common mistakes include using the wrong tools, neglecting safety measures, and not understanding the type of adhesive used. Each can lead to unsatisfactory results or damage to the material.
Can I use household items for this process?
Yes, some household items can be utilized, such as vinegar for adhesive removal or a hairdryer for heat application. However, ensure that these items are compatible with the materials involved to avoid damage.
What improvements can I make after removing the layer?
After the protective layer is removed, consider applying sealants or protective coatings to enhance the longevity and aesthetic appeal of the surface. Regular maintenance is key to preserving the integrity of your projects.